MitchReef's Reef...well the current one at least....

It's more fun because you went from a general construction project to messing around with fishtanks. It even sounds better. My wife says it all the time- "why can't you get excited about painting the ceiling or something instead of cleaning tank glass?"
 
Yup....and I even had to paint the F'n ceilings in the fish room!!!!

Anyway, now it is getting fun....I got my 3/4 inch bulkheads today so I put them into the display tank where it will plumb the return LineLoc nozzle pieces....I am also about to the point of starting the RO/DI Wall and salt mix station.....truly another epic undertaking....

keep watching....gonna get fun.....real fun.....real soon!!!!
 
I got a bunch of stuff done for a short time working on the project today. The sump/fuge stand is all sealed and in place.......I got the 1" bulkheads so I installed them and did all of the overflow plumbing except where they actually go into the sump/fuge....I will glue those after I get baffles and such done in the sump....I got the return plumbing under the tank done...I still don't have my Tru-union valves for the pump inley and outlet so I will not get the pump connected. I plumbed an extra hole in the end of the sump with a bulkhead so I can use it with a ball valve for water change draining......I got all the overflow and return kits installed, meaning the MegaFlow durso's and multi LineLoc nozzles in and connected....I finished putting together the utility shelves for the opposite wall from the display.....I still need to put up a horizontal bar (2X4) to hang the LEDs from.....I will post pictures later, I gotta get ready for a club meeting....
 
Florida Reef Aquarium Group....FRAG....club is great. No politics, no stress. We formed about a year and a half ago. Monthly meetings, group camping trips, cookouts, etc. We have about 150 members a.d about 25 sponsors. I'm the mentoring director.
It's a great club.
 
So, basically, you're like a boss. <-- Sorry, couldn't resist it.


I wish someone would start a group like that in my area. I know they have events where they do frag swaps around me, just not a specific club that I've heard of. I would LOVE to join it. I'm thinking about fragging one of my Zoa colonies, and both of my star polyps (white and green). No idea how to frag the white one (is it the same process as the green?). I also got a zoa frag that has about 10 polyps on it that I wanted to make into a smaller frag and place around the tank. Any info you could give me on how to frag Zoas and the white star polyp would be appreciated Mitch. :)
 
If they are attached to small rocks just cut the rocks with a dremel and then separate the polyps / mat with a razor blade....if they can be carefully peeled from the rock then that can be done too, but in my experience they generally do better with a little bit of rock to attach the frag to another rock / plug/etc....
 
I was a pretty big slug last week regarding my evening computer time. My wife was away and I just didn't feel like doing anything but sitting in front of the TV and eating junk. So today I am spending most of the day on the computer, but I am getting ready to go out and paint the 2X4 that will support the main tank lights....not much to look at on its own, but with the lights it will be a huge jump forward on the project!!!!

I will get pictures up at some point today....
 
Okay, so I just looked back and realized that the last pictures I posted were when I stuck the tank in the wall....as I have described, a lot has been done since then and here are a few snaps to show progress.....
The fabric around the back of the tank is temporary and just something I hung to block it off....
Sump....
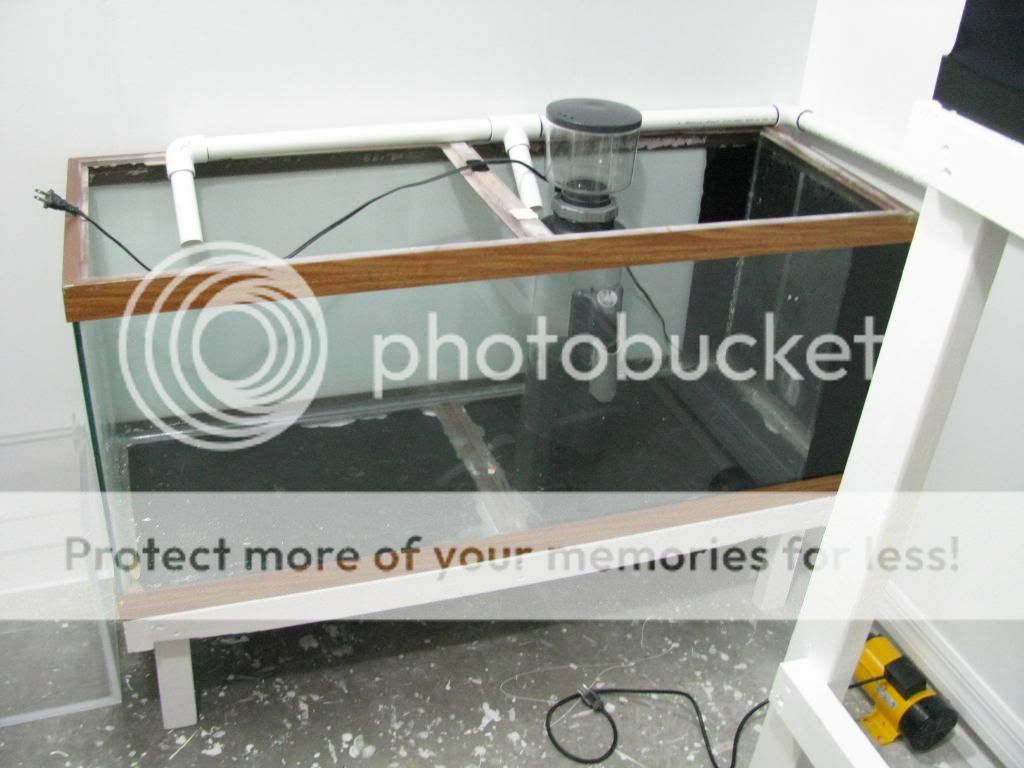
with the ATO reservoir...(the pump and final drains to the sump fuge are not done yet)
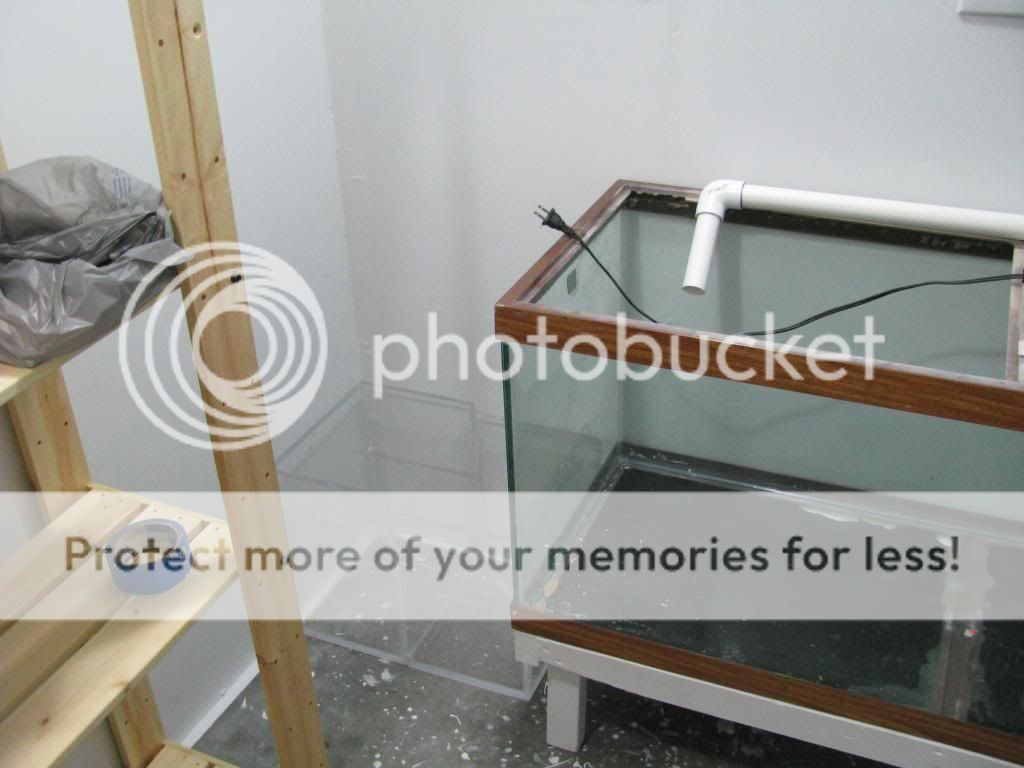
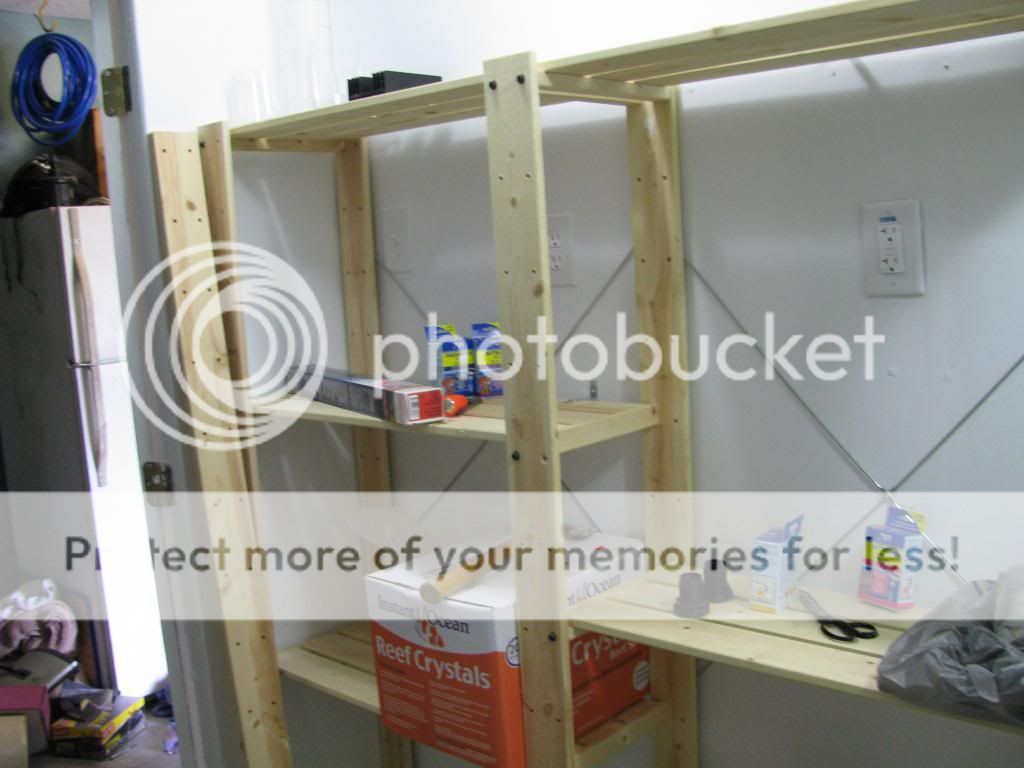
multipurpose shelving which will hold the frag tank and serve as the lighting tower as well....
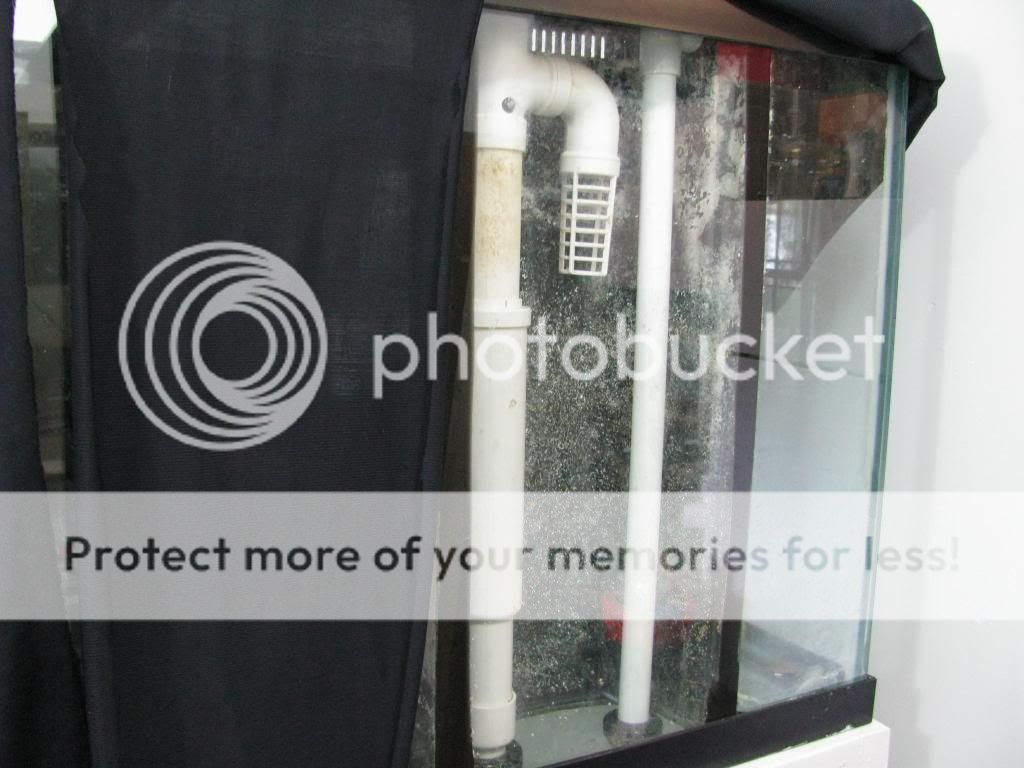
plumbing to the overflow and return bulkheads...
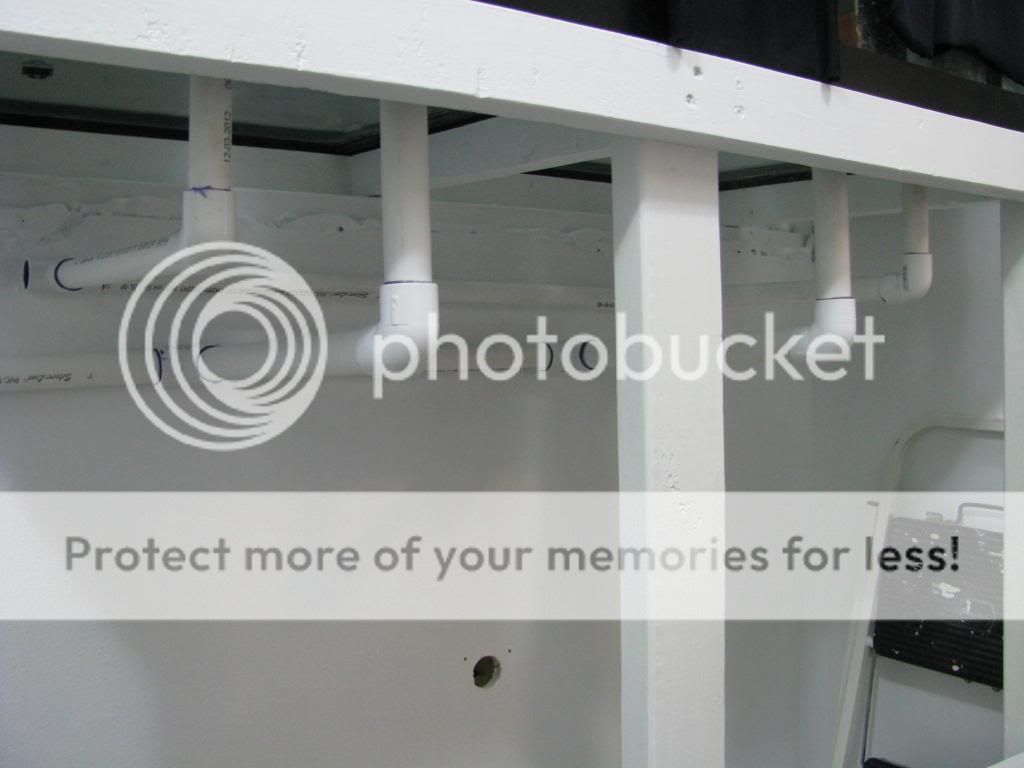
one side of in-tank Durso and return plumbing...
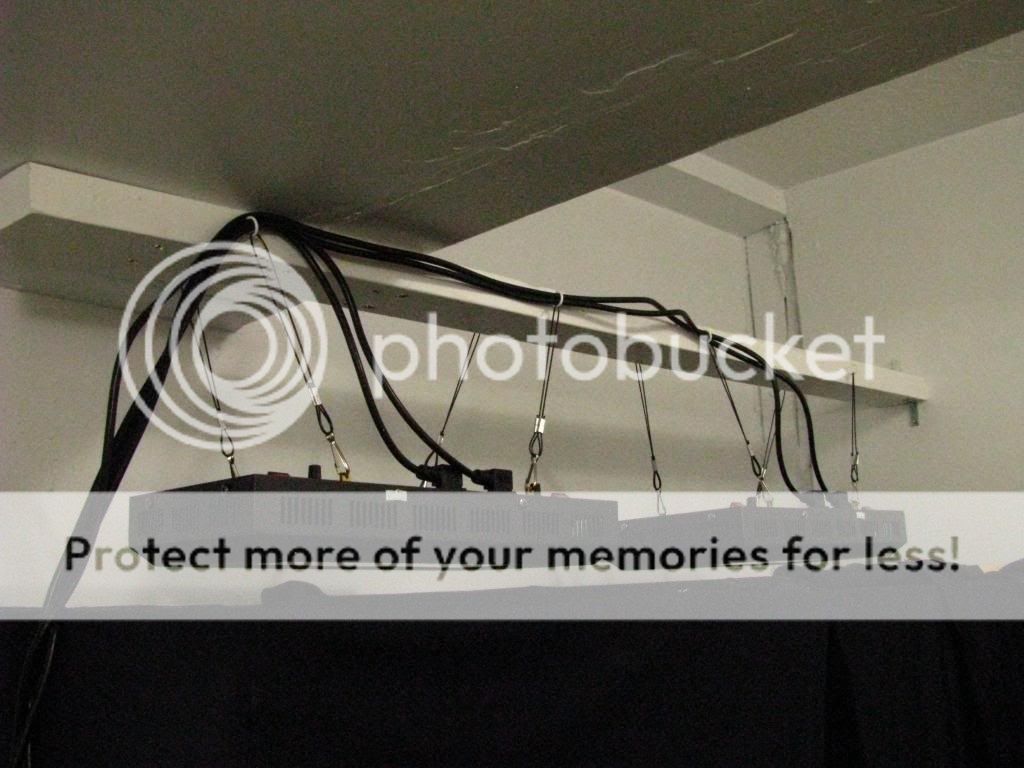
I also got my main tank LED lighting hung and run temporarily to a plug strip...
and the view inside the house...

this will not really show like this when there is water!!!!

Those are both cranked WAAAAAYYYYYYY down....
 
I ought to be getting the rest of the plumbing parts on Friday so I should be running the RO/DI line to the tank Saturday or so....
 
Thanks Big K, I try to be neat but not stingy with the purple primer, two coats on every piece, then apply glue to both parts and voila!!! I also try to keep a relatively even tilt toward the sump / pump with no low spots, not too hard when you can get to everything easily!!!
 
Not really....I'm such a hardcore, major league Left Brainer that it is ridiculous....it's a process with a somewhat predictable result and unfortunately my mind just does that....I have the lights on in the evening and there is no reason for you to ever be in the room as of now....
 
Well, I went outside with some paper towels and promptly realized that wiping out the entire inside of the glass was going to be a huge Pain in the Butt Tocks!!!! I did a good cursory job then cleaned out all the stuff that was in the bottom of the tank but I failed at polishing the inside of the glass!!!!
Anyway, I got to one big step....I still need to get the valves to plumb in the return pump and do the drain pipes into the sump....I have to take care of baffles for the fuge and sump and I'm not real sure I have enough acrylic on hand and I may need to get some more....Sooooooo....I decided to start putting some water into the tank and here you go....


the little white tube comes from my RO/DI....I may have to get a DI recharge before I finish the fill.....Would this be considered a big move forward?
 
Back
Top