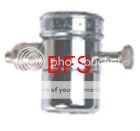
I need video of the john guest valve i learn easy by videos :)
OK, I get it... LOL...
So..here is a step by step for under the sink. You should either have two copper or flexible lines going to the sink faucet. There may be other lines like to your dishwasher, spray nozzle, etc. But, there will be two valves at the wall and we are talking about those. You will only need two smaller (6" or 8") crescent wrenches or similar.
1.) turn on both the hot and cold water at the sink faucet for about a minute.
2.) then turn the water at the faucet off and feel to see which valve at the wall is cold and which is hot.
3.) turn off the valve that is cold, .. completely off. (if it will not turn off do not force it)
4.) if it will not turn off completely you cannot complete the task and will need a plumber to replace the valve and if he/she does they will most likely use a newer style that is less likely to seize up. (optionally you can turn off the water at the main valve to your dwelling, but if this cold water valve does not turn off completely you will get some water dripping out most of the time while you complete this task)
..now let's continue as if you were able to close off the valve....
5.) turn on the cold water at the faucet, and leave it turned on. IF you can not only turn on cold water you will need to turn off both the hot and cold water valves at the wall.
6.) when the water stops running at the faucet (if you did not turn off the main water valve to your dwelling and the cold water valve does not completely turn off you can not complete this task and will need a plumber first) put one of the crescent wrenches on the wrench flats of the cold water valve and use the other crescent to loosen the copper or flexible line which goes towards the faucet. If this does not turn easily be careful not to twist the whole valve. You could damage the connection to the pipe or line coming from the wall.
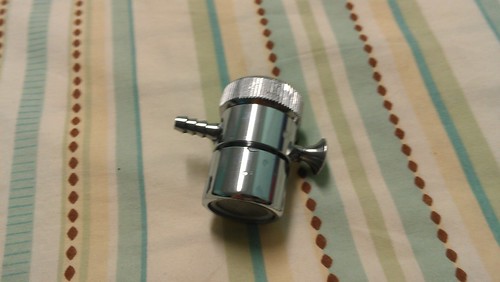
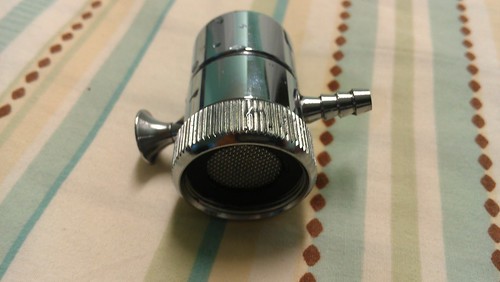
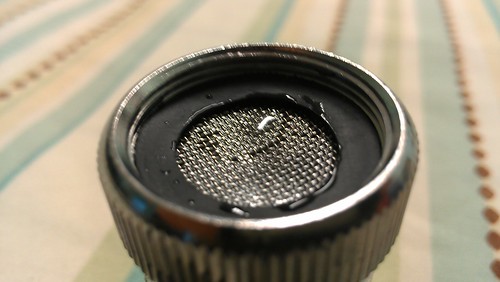
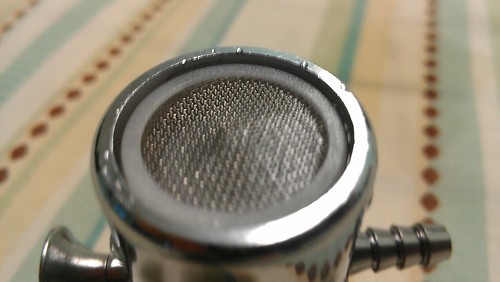
7.) screw the john valve onto the valve and tighten the connection using both crescent wrenches again being careful not to disturb the connection to the wall too much.
8.) now screw the cold water line that goes towards the sink onto the john valve. Again be sure to use both crescent wrenches... same procedure.
9.) push your RODI supply poly tube into the john valve.. hold the john valve firmly and be sure to push it in all the way. You can make some marker marks on the poly line if you want to better see if it is going in. Sometimes you may have to push fairly hard, but be sure to support the john valve, again you don't disturb the valve connection at the wall. (optionally, push the poly line in first before you connect the john valve to your cold water valve, but the poly line may get in your way this way)
10.) turn the cold (and hot) water valves at the wall back on. Often these valves are designed to be either all the way on or all the way off so turn them all the way on.
11.) after completing the rest of the connections at the RODI system open the john valve.
As you can see this is not hard, however if you don't feel comfortable doing it I suggest you ask a friend who is handy with such things to do it for you. They will find it to be a simple task, we are each good at different things. So, there is not a good reason not to ask a friend for help, that friend may need help at something you are skilled at someday. To be honest, seeing that you ask for more details to connect a john valve I lean towards a recommendation that you ask a friend to assist you. ;) ;) If you mess up the connection at the wall you will have a serious problem in a hurry and will need to turn off the main water supply to your dwelling ASAP!!! ... In fact.. many of us turn off our main water supply valve first just to be safe, and if you can do that I recommend you do so.
If you decide to do this you do so at your own risk this is only a suggested proceedure
-randy-

