Hi all,
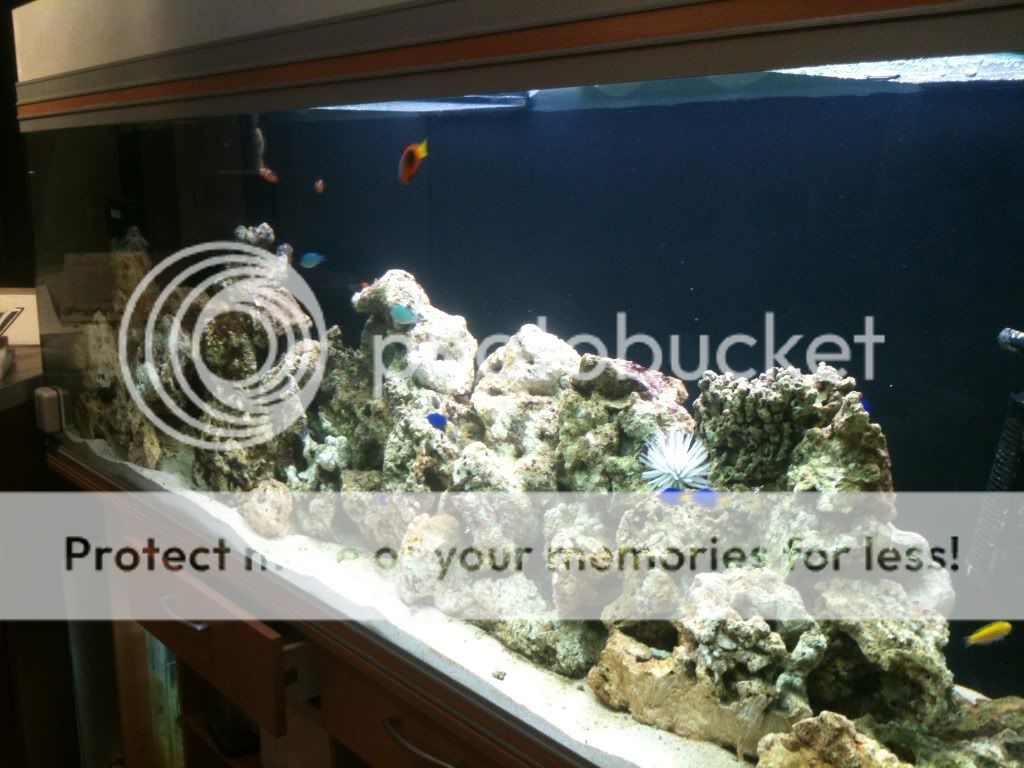
I've been working on this project for a number of months now and after finally completing the canopy today it's in a presentable state!
I bought the tank second hand, it was a fish and (some) live rock system however most of the live rock had died (the tank was very poorly looked after and had very little water movement). Although there was a complete equipment system (i.e. skimmer, lighting, filtration) much of it was outdated and had to be scrapped. The previous owner used two external filter systems which weren't up to the job; I scrapped these and planned to build a custom sump. Anticipating a long and arduous restoration project I decided to dump the water, sand and live rock (keeping some of the rock "dry" to be used for building the tank it was complete) and to start from fresh once the building was finished.
So went about planning my sump; as the tank was manufactured for freshwater there was a split cabinet underneath- neither cabinet on its own was large enough to house a big enough sump. I had to build two miniature sumps and connect them with a central pipe that ran beneath the tank and through supporting beams. Obviously the issue with this is having a pipe large enough to accommodate the required flow rate in a large tank such as this – a large pipe means large bulkheads and other large (and expensive!) fittings.
As it was all a custom build I ordered the required acrylic online which was thankfully pre-cut prior to being sent! thus I stuck it all together - an extremely stressful job considering I was dealing with over £100 of acrylic and one poorly stuck seam would render the whole sump weak and prone to leaking. Thankfully everything was successful and there have been no leaks to date (touch wood!) With everything stuck together and drilled, I (after much fiddling, cursing, crying) managed to connect the two sumps together. With a tubes worth of reef safe silicone lining the inside everything was waterproof and I could progress!
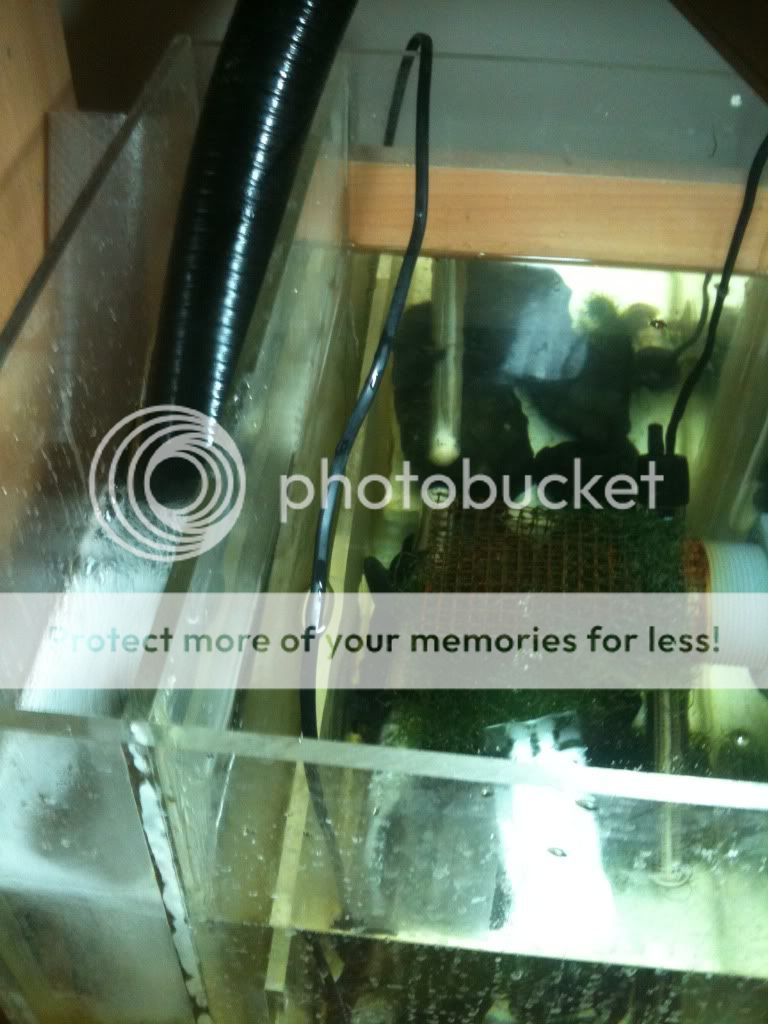
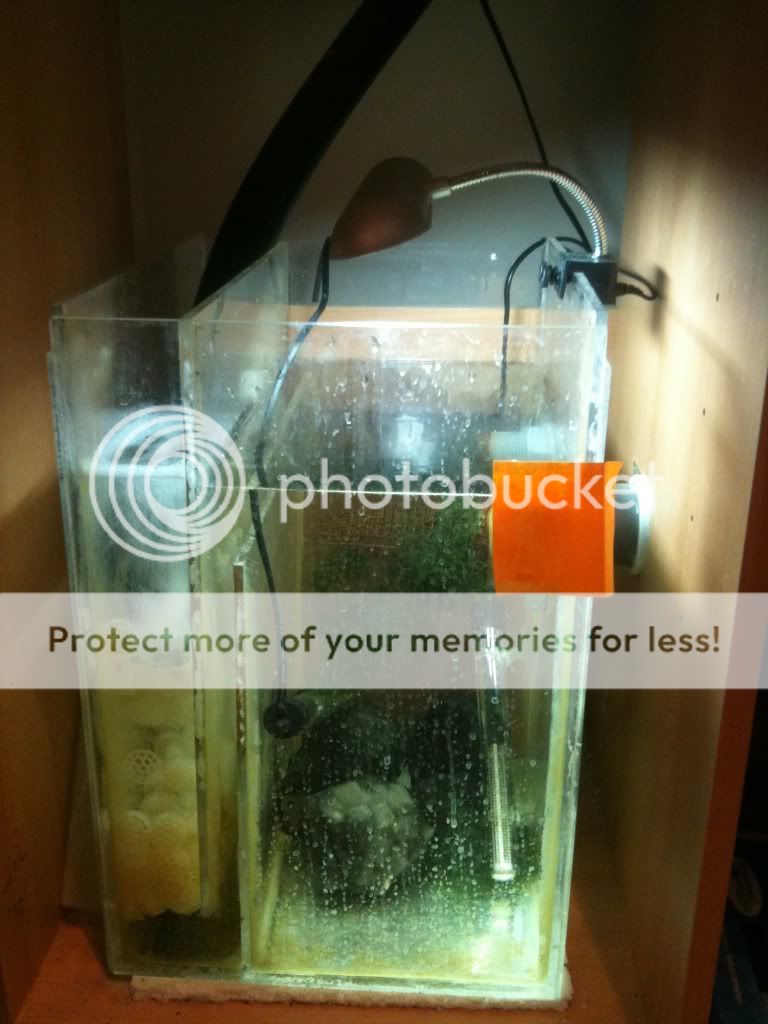
As shown in the picture, the left hand sump houses the bioballs, micro bubble barrier, heaters and the refugium which houses macroalgae and (will) house the deep sand bed. The issue here was stopping the bioball equivalent floating into the refugium, however using some garden wiring we’ve been able to stop them floating into the refugium (they were floating into the right hand sump and clogging up the return pump).
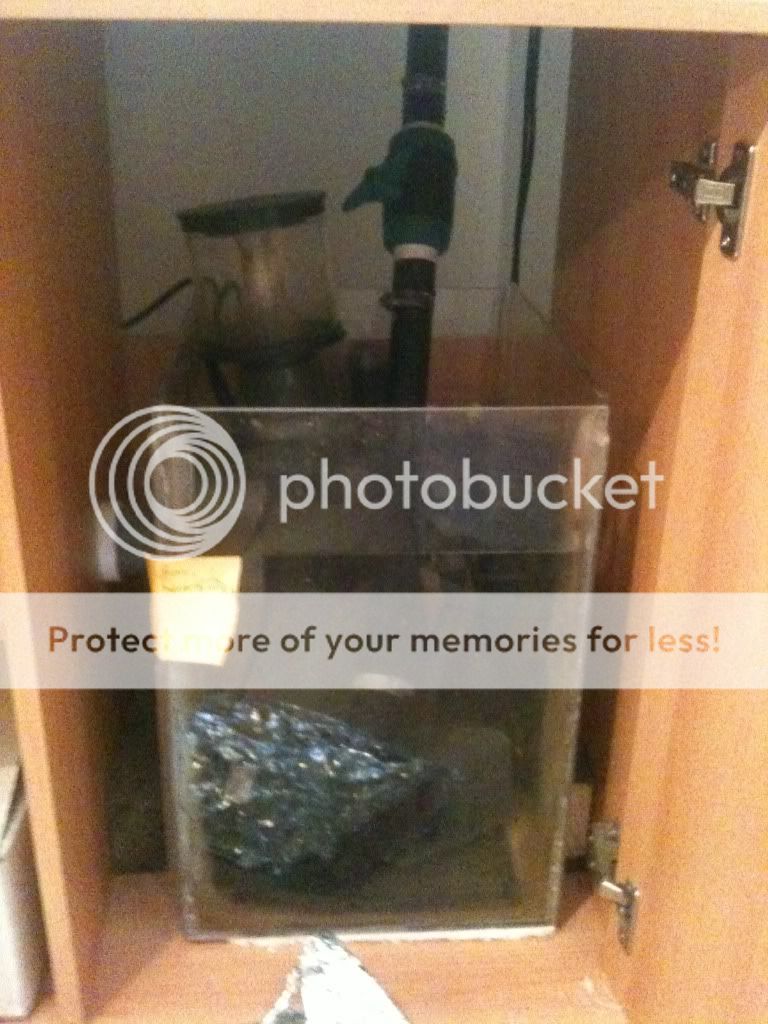
The right hand sump houses the skimmer and the return pump. Theres nothing particularly exciting in here but the large valve you can see on the return pipe is used to adjust the flow of the return pump (the overflow box has a weaker flow rating than the return pump). Forgive the quality of the picture; what you can see is the reflection of the foil I use to stem the evaporation from the sump.
The last project (within a project!) was to build the hood which was becoming fairly desperate due to the massive amount of evaporation we were suffering from. We built it from MDF with reflective metal bolted on to obviously increase the light. In addition to this we built acrylic around the lights to stop condensation build up. The inside of the hood is shown here..
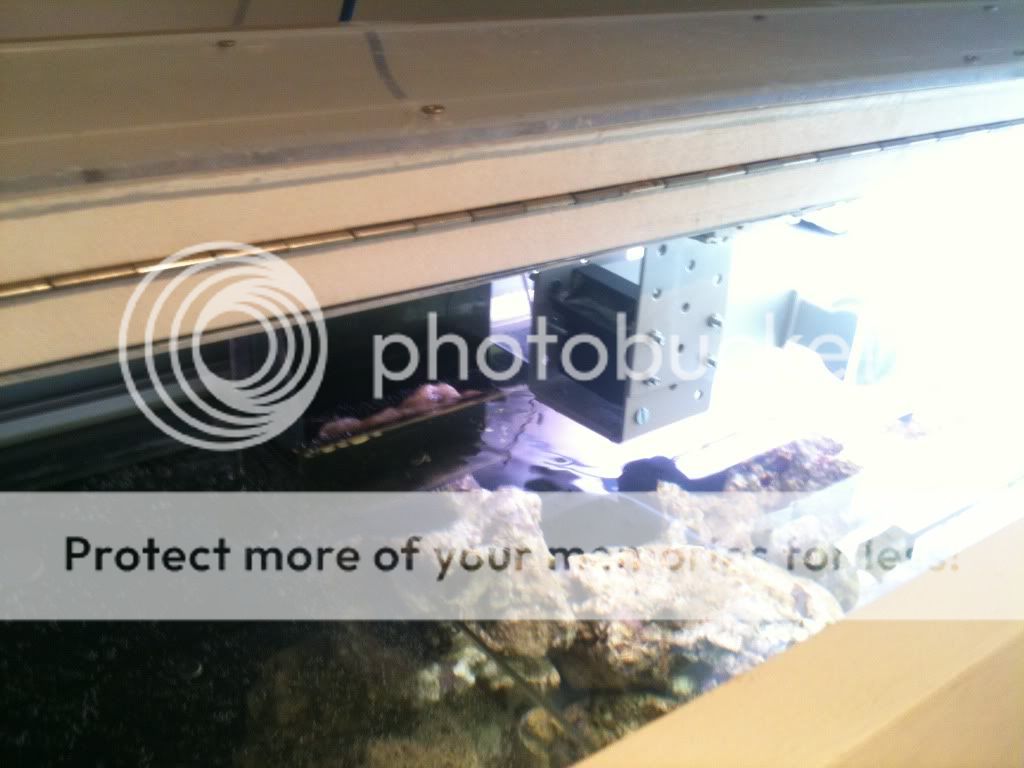
Currently I’m running 4x t8 lights along the tank, leaving one end free for LED lighting- the idea being that in due course I’ll start with corals down that end in high concentration (the tank has been set up to reef quality) and gradually move it along the tank as I can afford more lighting!
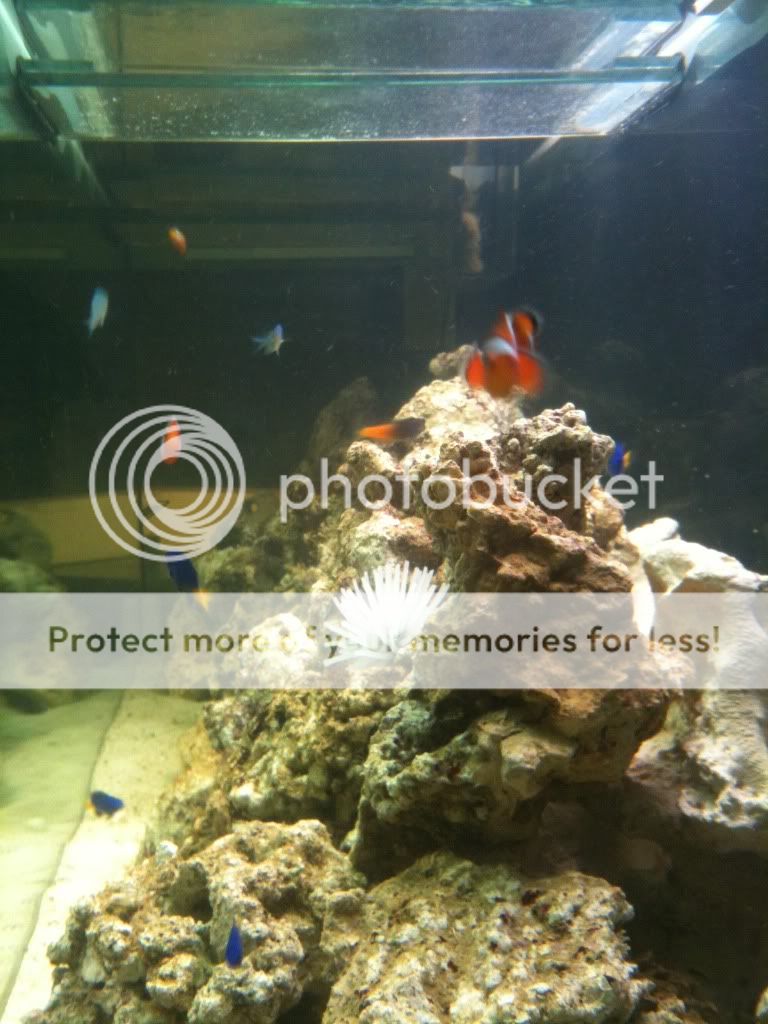
Stocking (this is where I become less sure – my dad stocked the tank while I was away at university)
About 50kg of live rock (I think)
2x green chromis
1x silver bellied wrasse
6x deep blue yellowtail damsels
2x common clownfish
1x bi colour blenny
1x large clownfish (needs properly id-ing!)
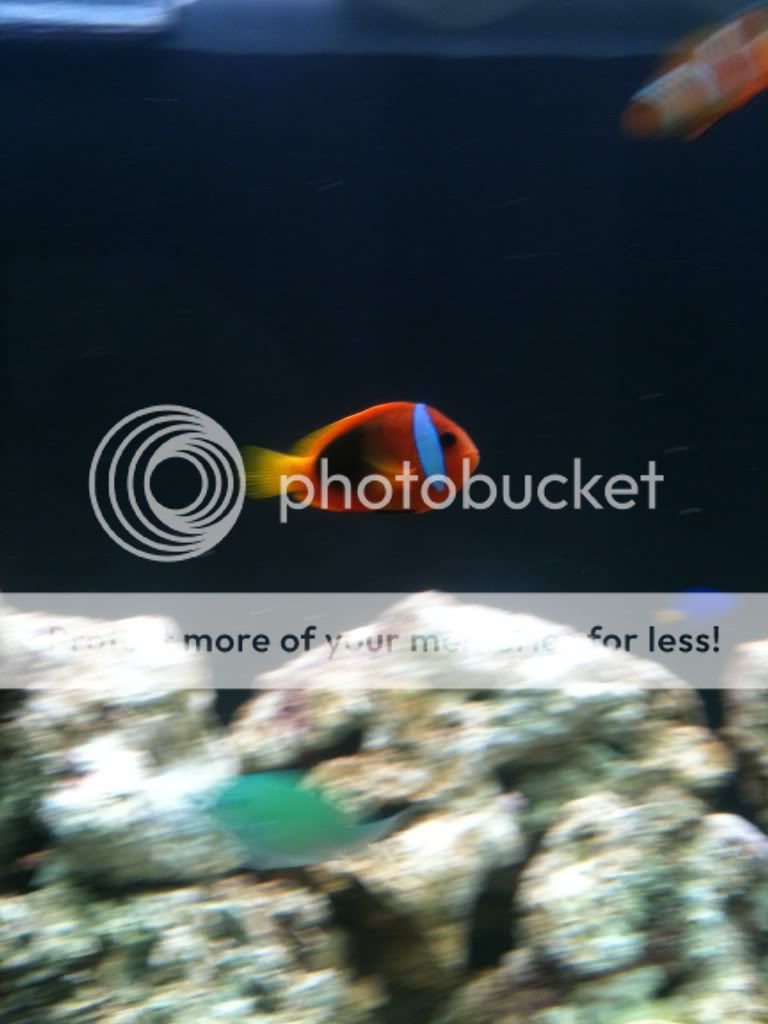
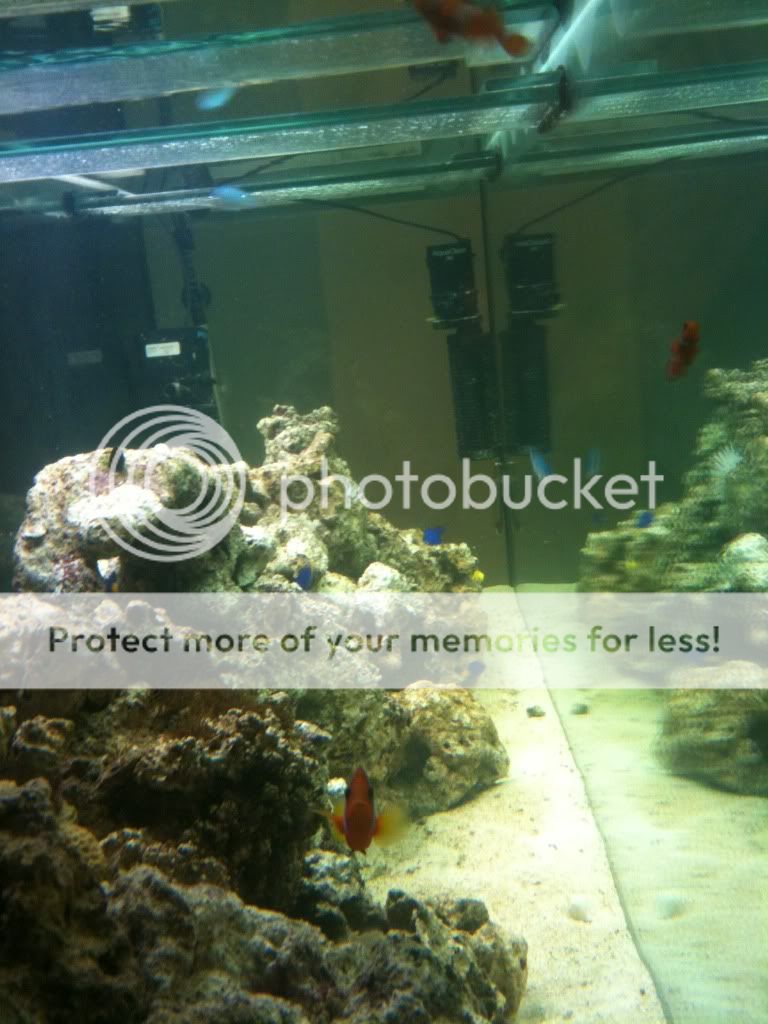
I need some advice on powerheads and what to get, the ones I’m using now are inherited and obviously not effective enough! Any tips?
Any questions at all just ask – I wish I’d kept a diary throughout but unfortunately a bunch of shoddy photos is all I’ve got for my hard work! If you want any other photos again, just ask and I’ll upload them as soon as I can.
I've been working on this project for a number of months now and after finally completing the canopy today it's in a presentable state!
I bought the tank second hand, it was a fish and (some) live rock system however most of the live rock had died (the tank was very poorly looked after and had very little water movement). Although there was a complete equipment system (i.e. skimmer, lighting, filtration) much of it was outdated and had to be scrapped. The previous owner used two external filter systems which weren't up to the job; I scrapped these and planned to build a custom sump. Anticipating a long and arduous restoration project I decided to dump the water, sand and live rock (keeping some of the rock "dry" to be used for building the tank it was complete) and to start from fresh once the building was finished.
So went about planning my sump; as the tank was manufactured for freshwater there was a split cabinet underneath- neither cabinet on its own was large enough to house a big enough sump. I had to build two miniature sumps and connect them with a central pipe that ran beneath the tank and through supporting beams. Obviously the issue with this is having a pipe large enough to accommodate the required flow rate in a large tank such as this – a large pipe means large bulkheads and other large (and expensive!) fittings.
As it was all a custom build I ordered the required acrylic online which was thankfully pre-cut prior to being sent! thus I stuck it all together - an extremely stressful job considering I was dealing with over £100 of acrylic and one poorly stuck seam would render the whole sump weak and prone to leaking. Thankfully everything was successful and there have been no leaks to date (touch wood!) With everything stuck together and drilled, I (after much fiddling, cursing, crying) managed to connect the two sumps together. With a tubes worth of reef safe silicone lining the inside everything was waterproof and I could progress!

As shown in the picture, the left hand sump houses the bioballs, micro bubble barrier, heaters and the refugium which houses macroalgae and (will) house the deep sand bed. The issue here was stopping the bioball equivalent floating into the refugium, however using some garden wiring we’ve been able to stop them floating into the refugium (they were floating into the right hand sump and clogging up the return pump).


The right hand sump houses the skimmer and the return pump. Theres nothing particularly exciting in here but the large valve you can see on the return pipe is used to adjust the flow of the return pump (the overflow box has a weaker flow rating than the return pump). Forgive the quality of the picture; what you can see is the reflection of the foil I use to stem the evaporation from the sump.

The last project (within a project!) was to build the hood which was becoming fairly desperate due to the massive amount of evaporation we were suffering from. We built it from MDF with reflective metal bolted on to obviously increase the light. In addition to this we built acrylic around the lights to stop condensation build up. The inside of the hood is shown here..

Currently I’m running 4x t8 lights along the tank, leaving one end free for LED lighting- the idea being that in due course I’ll start with corals down that end in high concentration (the tank has been set up to reef quality) and gradually move it along the tank as I can afford more lighting!
Stocking (this is where I become less sure – my dad stocked the tank while I was away at university)
About 50kg of live rock (I think)
2x green chromis
1x silver bellied wrasse
6x deep blue yellowtail damsels
2x common clownfish
1x bi colour blenny
1x large clownfish (needs properly id-ing!)

I need some advice on powerheads and what to get, the ones I’m using now are inherited and obviously not effective enough! Any tips?
Any questions at all just ask – I wish I’d kept a diary throughout but unfortunately a bunch of shoddy photos is all I’ve got for my hard work! If you want any other photos again, just ask and I’ll upload them as soon as I can.


