Phastrohs 220 Gallon Build - Pic Heavy

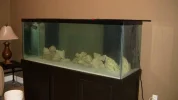
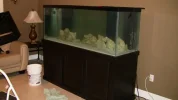
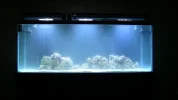
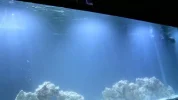
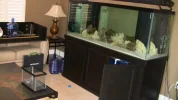
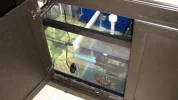
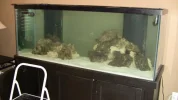
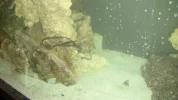
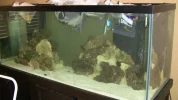
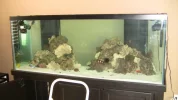
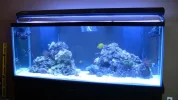
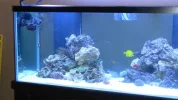
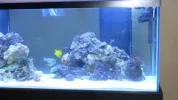
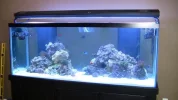
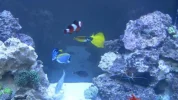
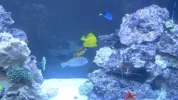
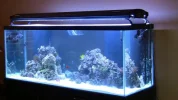
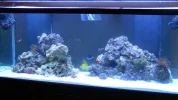
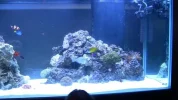
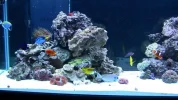
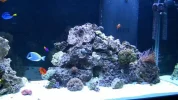
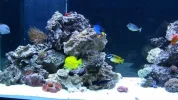
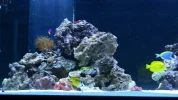
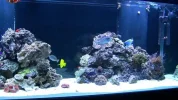
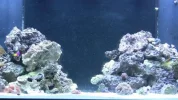
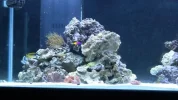
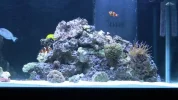
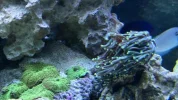
Here are some photos during the cycling period.

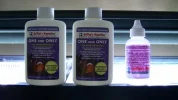
It lasted about 23 days which is far longer than expected using a fishless cycle and Tims One and Only but.....

I only used 1/2 the recommended One and Only or enough for a 120Gal tank. Dr. Tim said it would be ok but that was if I was not in a rush.

I felt very confident having put the bacteria in the tank to start. Now while it did take 23 days the tank never read over 4PPM of Ammonia after the initial dose.

As a matter of fact most of the time if not 90% of it was waiting for the Nitrites to drop and that is not one of the things claimed to be helped along by this product.

I dosed my tank with over 14ML of Ammonia Chloride and it did not even register on the Ammonia test after 7 days so there is no way this uncured, base rock could do that alone as far as I know.

This rock was out of my 80Gal tanks for about 3 months. I pressure washed it and it sat for that long. Most of it looks nice and rocky or bumpy with a lot of barnacles.

You can see in the pix the white on the overflows that I could not remove even with vinegar.

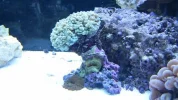
The photos with the blue are with only the 3 14,000K 150Watt MH bulbs. Funny thing is that now with the tank set up the color is nowhere near the same with just these lights on. It looks so light blue in the pix and it was in person just like that but not anymore with stuff in the tank.
 

Attachments

  • Cycle-3.webp
    Cycle-3.webp
    21.5 KB · Views: 418
  • Cycle-1.webp
    Cycle-1.webp
    12.3 KB · Views: 403
  • Cycle-2.webp
    Cycle-2.webp
    15.5 KB · Views: 410
  • Cycle-4.webp
    Cycle-4.webp
    10 KB · Views: 412
  • Cycle-5.webp
    Cycle-5.webp
    12.6 KB · Views: 414
This next part is to show the tank transfer. It was a long day but most because I had to carry everything like the rocks and set them up.

I was very happy with the way they came out the first time and will be leaving them.

I wanted an open tank and not a wall of rock. I would love to of had the left side of rock smaller but I just couldn't do it.

I made the decision not to have any rock near the side so I could clean the whole tank. I made that mistake with my other tank and could never properly clean the glass.
 
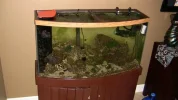
These photos show my old tank right before I drained the water half way.

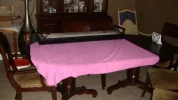
As you can see in the rest of the pix I am showing my nice dining room table(shh) that I used with permission. I was careful to the max putting my old Novas on there and many more things.

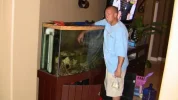
There is a shot of my brother with hos WTF do I have to help face. At this point most of the rock was moved. I am not sure what he was doing there but he had a fish in that bag.

There is also a photo of the fuge rock. My brother took one the rocks that cycled with the tank and broke it up with a hammer and flat head. Works great and make a safe little home for copepods to multiply.

I actually have a ton of things in my tank that I thought were bubbles so I shut it all off today and they just stayed suspended. It was like looking at a million stars.

I do not know if this is just the result of the copepods or not but they were not there before I added them and now they won't go away. I mean from the couch it doesn't look bad but up close it is strange.

The other photo is the tank just prior to transfer. I had taken a few rocks out the week prior just to help finish off the cycle and I had also purchased 20lbs of a totally different type of rock from this guys tank. It was fully cycled and it makes a great addition and spices up the look.
 

Attachments

  • Tank-Ready-for-transfer.webp
    Tank-Ready-for-transfer.webp
    25.6 KB · Views: 625
  • Building-Fuge-1.webp
    Building-Fuge-1.webp
    27.4 KB · Views: 427
  • Brother-Helping.webp
    Brother-Helping.webp
    23.2 KB · Views: 450
  • Work-Table.webp
    Work-Table.webp
    22.3 KB · Views: 368
  • Old Tank.webp
    Old Tank.webp
    29.3 KB · Views: 418
These are photos of the rock transfer taking place. I basically took it from the 80gal and put it in a little tub and walked over.

Trust me the floor is tile thankfully because is was wet and really wet and wet some more.

I did not spend a lot of time but with the help of my brother seeing things from a different angle we were able to quickly put these rocks together.

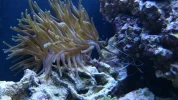
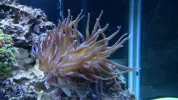
I won't like I like the look a lot and the rocks I got that I mentioned that are different I was able to utilize the main one the way i wanted at the bottom down in the front and it paid off. The Brittle and crab are in it a lot. You have to check out the pix to see what I mean.

You can see the final layout as well in the photos.

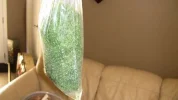
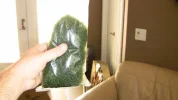
The Chaeto photos are what you get if you buy 1/2 pound from Live Aquaria.

The last photo is all the new fish and current fish floating in 40 Gallons I pumped out of the 80Gal when I caught the fish. I had to keep them warm!!
 

Attachments

  • 12-Pound-Chaeto-1.webp
    12-Pound-Chaeto-1.webp
    12.7 KB · Views: 358
  • 12-Pound-Chaeto-2.webp
    12-Pound-Chaeto-2.webp
    12.5 KB · Views: 376
  • Rock-Transfer-1.webp
    Rock-Transfer-1.webp
    21 KB · Views: 343
  • Rock-Transfer-2.webp
    Rock-Transfer-2.webp
    24.4 KB · Views: 356
  • Fish-Floating.webp
    Fish-Floating.webp
    19.9 KB · Views: 394
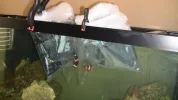
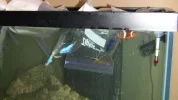
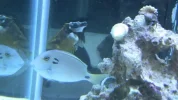
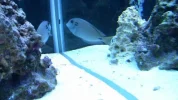
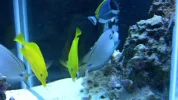
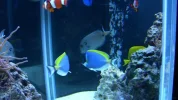
These next 5 photos from the transfer basically just show the fish during acclimation. The 5 fish from Live Aquaria were cycled as instructed.

My fish that I already owned were not done as intensely because the water was almost identical and they I felt could handle it.

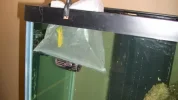
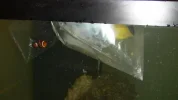
The only fish from Live Aquaria that could be seen was the Yellow Tang. I have no clue why it was the only one sent without a bag that blocks out the light. The Live Aquaria are the bag hanging by the clamps.

They have all done fine so far for the 2 weeks they have been in the tank.
I did however have one casualty and it was my new Green Manderin. He had plenty of food. Very sad to have it die but I did get a credit for it, no questions. I am glad it was easy because I had already disposed of it before I called.

On top of that I thank the good flow I have that it wasn't stuck under the rock to rot away. Instead it was found break dancing in the corner by my wife.
 

Attachments

  • Fish-Floating-6.webp
    Fish-Floating-6.webp
    20.1 KB · Views: 363
  • Fish-Floating-5.webp
    Fish-Floating-5.webp
    24 KB · Views: 362
  • Fish-Floating-4.webp
    Fish-Floating-4.webp
    27.7 KB · Views: 349
  • Fish-Floating-3.webp
    Fish-Floating-3.webp
    13.2 KB · Views: 348
  • Fish-Floating-2.webp
    Fish-Floating-2.webp
    24.4 KB · Views: 332
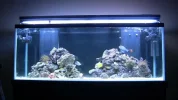
This is the first photo after the whole transfer was complete.

Now there you have it all done for that section.
 

Attachments

  • Transfer-Done-1.webp
    Transfer-Done-1.webp
    23.8 KB · Views: 443
I meant to post this first but here are the steps I took for the transfer.

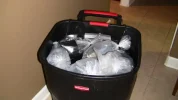
First thing I did was drained 40gal into my Rubbermaid disposal can that had a water pump and more importantly a heater in it.

At the same time I did this I removed the corals and placed them in a heated 10Gal tank and also I put a few in the bottom of the Rubbermaid because I did not have enough room.

I then started transferring the rock and placing it into the other new tank straight away.

Next I started netting the easier fish to catch and bagging them and putting them into the old tank water to keep warm with the new Fish from Live Aquaria.

Once I had most of the fish I kept moving rock and catching fish and went on from there until the tank was empty except for the CUC and sand and some water.

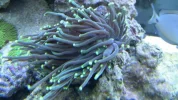
I had to transfer the Anemones with no acclimation. I could not get them off the rocks they were on to save my life and made a split decision because I had no way to wait for them.

They made it 2 weeks and seem just fine.

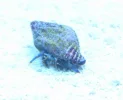
So after all the rock and fish were out I quickly moved all the snails and hermits with no acclimation for them. I have never acclimated them ever and have not had any die.

So once all that was done, I moved all the bags to the new tank.

As you can see in the photos I used my clamps to hold the Live Aquaria bags up on the side of the tank. makes it a cinch.

The instructions say to open the bags, dump 1/2 the water and fill them back up by putting a 1/4 cup of tank water in the bag every 5 minutes.

When the bag is full dump 1/2 and fill it up again. Then they are ready to go in the tank.
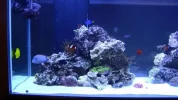
My current fish only got 4 1/4 cups added into their bags every 15 minutes and actually sat floating waiting for the rest to get done.

The Lieutenant Tangs bag was so big it took 3 times the water to fill up so it was way behind the rest.

My cure for this was to dump 1/2 the bag when it was filled and then add 1 cup of water to the others 1/4 cup. While this was my decision I don't recommend it because again it was my choice.

I felt there was no reason to have such a big bag as the fish was not too much bigger than the others and with all that water in the bag it would almost be the same as adding 1/4 cup to the smaller bags.

Once the bags were all ready, I placed the fish in the tank one bag at a time.

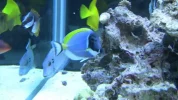
I did the current fish first and then all the Tangs last including the Hippo I already had.

I cleaned up my mess as the fish got used to their new home.

All the fish were out and about and till this day all hang out together and have yet to see any issues.

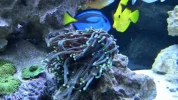
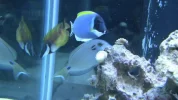
The Hippo and Naso are inseparable for some reason. They do everything but sleep together haha I mean in the same rock.
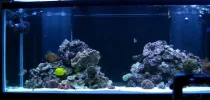
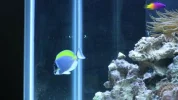
My Yellow Tang and Fox Face hang out and the Lieutenant and Powder Blue chill a lot.
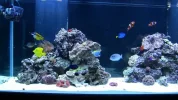
I am so far pleasantly surprised with their behaviors.

BTW the 6 Line Wrasse and absolutely the hardest of all the fish to catch.
 
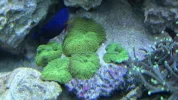
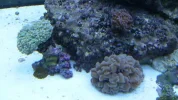
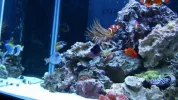
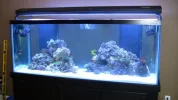
OK so finally the tank photos you have been waiting for. Well at least you shoudl be waiting for if you made it this far.
 
Hope these look cool. I have many corals to add as the tank grows!
 

Attachments

  • Transfer-Done-6.webp
    Transfer-Done-6.webp
    27.2 KB · Views: 957
  • Transfer-Done-5.webp
    Transfer-Done-5.webp
    28.3 KB · Views: 413
  • Transfer-Done-4.webp
    Transfer-Done-4.webp
    27.6 KB · Views: 424
  • Transfer-Done-3.webp
    Transfer-Done-3.webp
    25.9 KB · Views: 391
  • Transfer-Done-2.webp
    Transfer-Done-2.webp
    25.7 KB · Views: 402
More Pix!
 

Attachments

  • Transfer-Done-11.webp
    Transfer-Done-11.webp
    36.6 KB · Views: 442
  • Transfer-Done-10.webp
    Transfer-Done-10.webp
    38 KB · Views: 412
  • Transfer-Done-9.webp
    Transfer-Done-9.webp
    38.3 KB · Views: 371
  • Transfer-Done-8.webp
    Transfer-Done-8.webp
    29.3 KB · Views: 397
  • Transfer-Done-7.webp
    Transfer-Done-7.webp
    30.1 KB · Views: 385
Moooore Pix! These are before the newer corals.
 

Attachments

  • Transfer-Done-12.webp
    Transfer-Done-12.webp
    33.9 KB · Views: 354
Ok since the above photos I made a few coral purchases. You can see the difference int eh below photos.

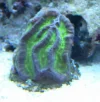
Basically I got another larger but also a little different Brain Coral on the left side.

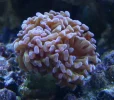
I also got a few Frags.
 
Newer pix!
 

Attachments

  • 5.webp
    5.webp
    47.8 KB · Views: 436
  • 4.webp
    4.webp
    44.5 KB · Views: 393
  • 3.webp
    3.webp
    48.6 KB · Views: 486
  • 2.webp
    2.webp
    40.7 KB · Views: 382
  • 1.webp
    1.webp
    28.9 KB · Views: 430
Newer Pix!
 

Attachments

  • 6.webp
    6.webp
    44.4 KB · Views: 345
  • 7.webp
    7.webp
    46.5 KB · Views: 343
  • 8.webp
    8.webp
    42 KB · Views: 351
  • 9.webp
    9.webp
    36 KB · Views: 339
  • 10.webp
    10.webp
    37.2 KB · Views: 354
More newer Pix! I know seem the same but I just wanted to post what I had.
 

Attachments

  • Hermit.webp
    Hermit.webp
    18.8 KB · Views: 317
  • Clam.webp
    Clam.webp
    46.3 KB · Views: 312
  • Anemone-2.webp
    Anemone-2.webp
    49.1 KB · Views: 326
  • Anemone-1.webp
    Anemone-1.webp
    44.9 KB · Views: 335
  • 11.webp
    11.webp
    27.6 KB · Views: 354
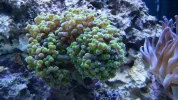
Coral Pix!
 

Attachments

  • Coral-5.webp
    Coral-5.webp
    58.8 KB · Views: 290
  • Coral-4.webp
    Coral-4.webp
    24.3 KB · Views: 328
  • Coral-3.webp
    Coral-3.webp
    34.4 KB · Views: 302
  • Coral-2.webp
    Coral-2.webp
    54.7 KB · Views: 339
  • Coral-1.webp
    Coral-1.webp
    45.2 KB · Views: 293
More Coral Pix!
 

Attachments

  • Coral-6.webp
    Coral-6.webp
    49.7 KB · Views: 298
  • Coral-7.webp
    Coral-7.webp
    57.3 KB · Views: 291
  • Coral-8.webp
    Coral-8.webp
    38.3 KB · Views: 335
  • Coral-9.webp
    Coral-9.webp
    48.6 KB · Views: 345
  • Coral-10.webp
    Coral-10.webp
    45.7 KB · Views: 281
Coral and Fish Pix!
 

Attachments

  • Fish-3.webp
    Fish-3.webp
    25.9 KB · Views: 302
  • Fish-2.webp
    Fish-2.webp
    37 KB · Views: 326
  • Fish-1.webp
    Fish-1.webp
    29 KB · Views: 297
  • Coral-12.webp
    Coral-12.webp
    43.6 KB · Views: 269
  • Coral-11.webp
    Coral-11.webp
    38.8 KB · Views: 292
More Fishies YAY!
 

Attachments

  • Fish-4.webp
    Fish-4.webp
    25.8 KB · Views: 311
  • Fish-5.webp
    Fish-5.webp
    48.6 KB · Views: 295
  • Fish-6.webp
    Fish-6.webp
    32.8 KB · Views: 294
  • Fish-7.webp
    Fish-7.webp
    32 KB · Views: 296
  • Fish-8.webp
    Fish-8.webp
    35.9 KB · Views: 287
Back
Top