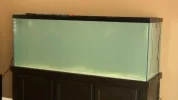
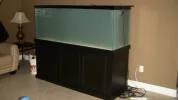
Phastrohs 220 Gallon Build - Pic Heavy

phastroh

Do Not Listen To Me!!!
Hi everyone.

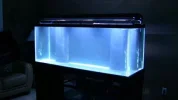
I had currently owned an 80 Gallon Bowfront tank but decided I wanted some Tangs and so I upgraded my tank to a 220 Gallon tank.

This thread will be posted in stages showing this new tank from the time I picked it up till just yesterday as I took photos of the tank.

I still have many plans for corals in the blue and green color range and will buying a new 75Gallon to redo the sump. As for fish, I won't be or am not planning to get anymore for a while if ever.

I am also always looking for new powerheads and you know all the little things. I plan on adding soon a Carbon Reactor from Bulk Reef and getting a PH machine.

I hope you enjoy the photos and the information in my build. Thanks for looking and all the info is going in the next post.
 
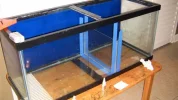
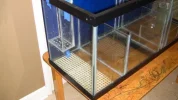
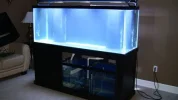
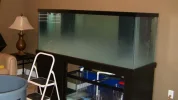
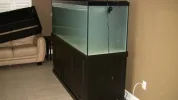
220 Gallon AGA with Starphire front panel
75 Gallon Tank for sump
Reef Octopus Extreme 250
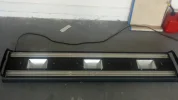
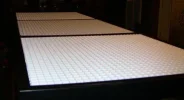
Marineland Pro Lights - 3x150MH, 8x39 T5s, 6 LEDs
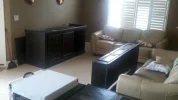
Marineland Chocolate Stand with Canopy
1 Hydrive 1250 Pump
3 Aqueon 1250 Powerheads
1 Aqueon 550 Powerhead
1 Koralia Nano Powerhead(for Fuge)
1 Fluval E--Series Digital Heater/Thermometer
1 300 watt Theo Heater
1 Turbo Twist 12x UV Sterilizer

I paid $1600 for the Tank, Stand and Canopy and Sump and pump, I also got the Dursi set-up with the tank and a MJ1200 and some 2 Little Fishes brand new Part A & B. The lights alone are $1200.

Marineland replaced all the bulbs free of charge and even sent me a complete extra set of T5's.

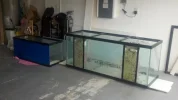
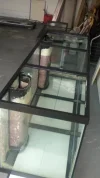
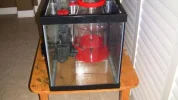
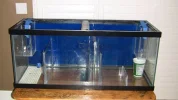
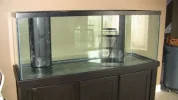
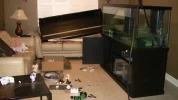
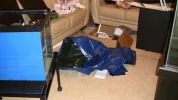
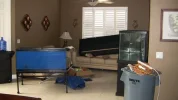
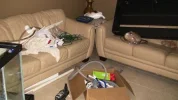
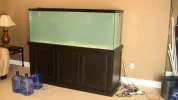
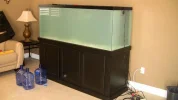
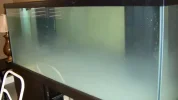
Below are some photos of when I brought the tank home. I drove about 1:30-1:45 from near Tampa to right by Disney World using my Acadia and my moms Van to fit it all. The tank was so heavy it cut into my skin on my arm and the next day it felt like someone pulled my arms off at the elbows.

The guy I bought it from had it roughly a year. $1600 is an absolute steal for this set up. With the FREE bulbs from Marineland it is like one of the best deals I have seen.
 

Attachments

  • Tanks.webp
    Tanks.webp
    19.6 KB · Views: 872
  • Tanks-1.webp
    Tanks-1.webp
    16.6 KB · Views: 895
  • Stand.webp
    Stand.webp
    16.8 KB · Views: 831
  • Lights.webp
    Lights.webp
    13.9 KB · Views: 719
  • Canopy.webp
    Canopy.webp
    9.6 KB · Views: 868
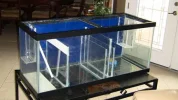
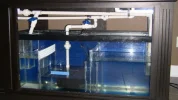
The photos below are of the sump I built and my Reef Octopus skimmer.

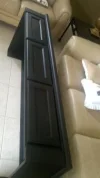
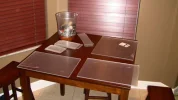
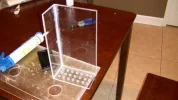
There is a photo of the panels I used on my table.

You can see the sumps cross bar is not in the best shape but I got it back together. This is why I want a new tank. I used Acrylic but want glass panels. I do not want the down time of redoing it so I will just make the new one and slide it out and slide the new one in.

The sump was built to have the skimmer on the right where the intakes come into sump socks.

There is a ball valve off one of the intakes so that I can have the Refugium flow very very slow.

The return is in the middle on the sump.

The Refugium which you will see in later posts has the perfect home with rock and Chaeto for Pods to grow. I have already seen stuff in there and things crawling around on the Chaeto.

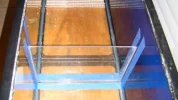
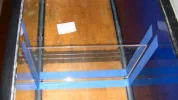
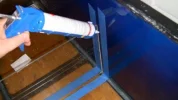
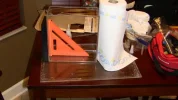
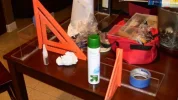
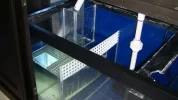
As you can see below in the photos I was attempting to build the sump nice and neat but I had a problem with the bubble trap center panel sliding down and ruining the nice seals i made. You can't see it really while it is in use but I was pissed off.

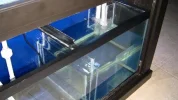
I built little boxes on both sides and drilled holes in the bottom to allow the water to flow but it really stops almost all the bubbles from getting into the sump.

The Refugium has none at all while the skimmer side has minimal especially with the socks in the box. You can see the in the photos. The skimmer side is a little loose because I am having to change the socks out but I imagine with glass next time it will secure better.

I was also planning on giving the skimmer side more room as I have noticed with the Auto Top off being used the center return are does not have to be as wide. This way I can install either one large sock or the kind that hooks on over the side that they sell online at Fosters and Smith.

I just have to take the skimmer top off each time to change socks. I mean yeah I can clean it at that time but it gets annoying when I am short on time.

I went to a garage sale today and the guy had a ton of super large sump socks. They were really big and he was just getting rid of them. He was selling the large glass scraper for $3 and I just paid $25 for it.

So either way I am not 100% what I will do but will post it here as add ons later on.
 
Here si the first panel all neat until the mishap.:frustrat:
 

Attachments

  • First-Panel-Done.webp
    First-Panel-Done.webp
    22.6 KB · Views: 577
  • First-Panel-2.webp
    First-Panel-2.webp
    19.4 KB · Views: 541
  • First-Panel-Glue.webp
    First-Panel-Glue.webp
    16.5 KB · Views: 544
  • First-Panel.webp
    First-Panel.webp
    24.9 KB · Views: 557
  • Panels-on-Table.webp
    Panels-on-Table.webp
    19 KB · Views: 552
The photos below show the first 2 panels in the sump.

You can also see the side boxes I meantioned that I drilled and where they are in the sump.

The one photo shows the stand the skimmer is on to raise it just a bit. I had 12" walls and the skimmer is made for 10" walls.
 

Attachments

  • Skimmer-Stand-Drying.webp
    Skimmer-Stand-Drying.webp
    20.2 KB · Views: 683
  • Side-Boxes-Drying.webp
    Side-Boxes-Drying.webp
    23.6 KB · Views: 524
  • Box-Drying.webp
    Box-Drying.webp
    20.7 KB · Views: 580
  • Fuge-Box.webp
    Fuge-Box.webp
    22.9 KB · Views: 557
  • 2-Panels.webp
    2-Panels.webp
    20.9 KB · Views: 541
More pix of the skimmer box and the skimmer in the Sump.

That skimmer needs like 16" it is HUGE but I love it.

There is also a picture of the whole thing done.

Oh yeah and the one is my bubble trap. Just kidding.
 
Sorry here are the pix.
 

Attachments

  • Skimmer-Box.webp
    Skimmer-Box.webp
    14.8 KB · Views: 620
  • Skimmer-On-Shelf.webp
    Skimmer-On-Shelf.webp
    20.7 KB · Views: 619
  • Fuge-Complete.webp
    Fuge-Complete.webp
    20.6 KB · Views: 629
  • Fake-Bubble-Trap.webp
    Fake-Bubble-Trap.webp
    37.7 KB · Views: 924
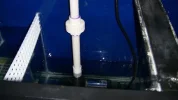
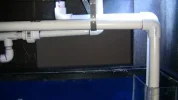
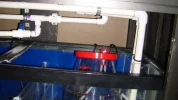
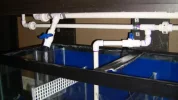
Here are the photos of the plumbing work I did and setting up the tank for leak checking. It wasn't that hard to do this all but the sump is a tight squeeze to get it in place.

This first set of pix is just the work zone.
 

Attachments

  • Tank-Pre-Work.webp
    Tank-Pre-Work.webp
    13.1 KB · Views: 1,877
  • Work-Zone-4.webp
    Work-Zone-4.webp
    16.2 KB · Views: 622
  • Work-Zone-3.webp
    Work-Zone-3.webp
    18.5 KB · Views: 514
  • Work-Zone-2.webp
    Work-Zone-2.webp
    18.1 KB · Views: 574
  • Work-Zone-1.webp
    Work-Zone-1.webp
    17.4 KB · Views: 562
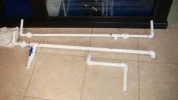
These next photos show the sump before it went under the tank and the dry run of the plumbing. This way you can see exactly what I was doing.
 

Attachments

  • Return-Pump.webp
    Return-Pump.webp
    11.9 KB · Views: 657
  • Return-FIx.webp
    Return-FIx.webp
    10.4 KB · Views: 587
  • Pre-Glue-In.webp
    Pre-Glue-In.webp
    18 KB · Views: 599
  • Dry-Run.webp
    Dry-Run.webp
    12.5 KB · Views: 614
  • Sump-Pre-Placement.webp
    Sump-Pre-Placement.webp
    21.7 KB · Views: 644
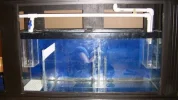
You can see the water in he sump for leak checking in these pix. Take note of the small amount of bubbles in the sump.

I had not kidding 100 times the amount of bubbles from my 80 Gallon in my Pro-Flex Sump. I may be wrong but I really think the idea I had for the boxes is responsible for this.
 

Attachments

  • Full-Sump.webp
    Full-Sump.webp
    17.7 KB · Views: 4,639
  • Fuge-Box.webp
    Fuge-Box.webp
    18.1 KB · Views: 513
  • Bubble-Trap-2.webp
    Bubble-Trap-2.webp
    19.2 KB · Views: 582
  • Bubble-Trap-1.webp
    Bubble-Trap-1.webp
    13.3 KB · Views: 628
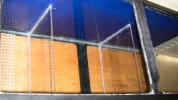
Last on the plumbing and water check tests are pix of the tank itself with the MH bulbs on alone.

The color of the 14000k bulbs look so great in this photo. When they are on now the 4 T5 Actinic and the 4 T5 Daylights are on so the color is not quite the same. maybe one day I will take pix of the fish with just these on.

Oh and the one of the egg crate is just showing what I actually still have on the top. The corals have only been used to T5's so I run the MH 3 hours with egg crates for now and wil move up eventually to 5 hours and so on and then no egg crates. You know the drill.

So far the corals show no effects after 2 weeks. I think it is because the 150's are not the strongest MH's and the tank is 30" tall.

Better for me.
 

Attachments

  • Full-Shot-1.webp
    Full-Shot-1.webp
    7.9 KB · Views: 1,147
  • Full-Shot-2.webp
    Full-Shot-2.webp
    11.1 KB · Views: 793
  • Egg-Crate-Top.webp
    Egg-Crate-Top.webp
    11.2 KB · Views: 1,144
Ok that is it for now. It is 2:30AM and I have to snooze it up. My eyes have been super heavy for 2 days being up working so late.

I will post the Sand and Cycling photos tomorrow maybe. I had my whole Dr. Tims One and Only Cycling info on another forum that is now lost.

I will just sum it up when I post. Here is a teaser - It was good.
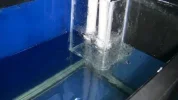
After that I will post the tank transfer. I did not get as many photos as I thought or wanted to but I think that was because I was super busy and trying to race so the fish were ok.

I had fish from Live Aquaria who had been through enough to fly across the country. it went smooth as heck but I was worried haha.

After that is finally just fish and coral pix.

I'll be back soon, hope you have enjoyed it so far.

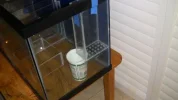
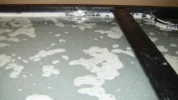
Since I can't edit the first post any longer I just want to add that I sprayed the tank down for over a week with vinegar and all the calcium you see was gone. It took off most easy but I had to scrape good in the overflows. It seems impossible but eventually it came off. I could only clean the outside of the overflows so much with my pressure washer so there is a little white still on them.(see pix)
 
Last edited:
Wow, I felt like I was reading thru an epic adventure...lol. That is one "awesome" tank build, and everything seems to be coming along nicely. Good job and keep up the good work. Btw, not enough pics. :mrgreen:
 
Wow, I felt like I was reading thru an epic adventure...lol. That is one "awesome" tank build, and everything seems to be coming along nicely. Good job and keep up the good work. Btw, not enough pics. :mrgreen:
I know,,its great...looking good:Cheers:
I'll probably just have a before and after of my build

I do have a question,,did you reinforce your floor or is your floor a slab?
 
I know,,its great...looking good:Cheers:
I'll probably just have a before and after of my build

I do have a question,,did you reinforce your floor or is your floor a slab?

The whole set-up is already finished. I just figured I would post it all at one time but it was late last night so I will finish today sometime.

I am done with fish for now but I am going to be getting some more color with some nice blue and green corals soon. Maybe a few other things as well. Most of my corals are not the brightest in color.

As for the floor. I live in a 2 story house but I have no basement so it is all slab downstairs where it is located

I did however shim that tank. It was empty but trust me and I am sure you know it was heavy to the max. I actually forgot to write about that.
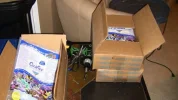
It was maybe 1/4 inch off which I noticed because one of the intakes was not bringing in enough water. I looked in the back and the overflow water was sitting on the edge but barely trickling in.
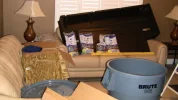
I was able to lean my weight into the tank and just get one shim in the front and then from there, with the hammer and other shims, it was easy to do.

I had my 2 brothers and my nephew help bring it into the house. It was hilarious. We kept debating just bringing it half way because we already moved it to load and unload it.

So I get one end and my brother gets the other. We are the strongest 2. So my other brother and my 13 year old nephew get the middle. So we are walking around the front of the house and we get to a point where me and my one brother have to go it alone.

Not kidding, when the other 2 let go it did not get any heavier. We made it alone the rest of the way and got it onto the stand. It has a rim around the front and side so you have to slide it in which makes it harder.

Anyway that was the way it went down. Thanks for reading along.

I will post the rest tonight as I am going to one of those Brazilian Steakhouses near Tampa Stadium mmmmmmmm been starving myself all day.
 
Last edited:
Cool, thanks for all the info...I really wanted to put mine in the basement but there is no heat down there...So i need to reinforce the joists..
Hope you enjoyed your steak
 
These are a few shots of the final plumbing. You can see the ball valve there for the fuge intake and the 2 intakes for the skimmer side.

In my new sump I will not be using the intake box for the intakes as it is not able to be secure enough with the constant changing of the sump sock.

I may also decide to put in on the front of the sump and extend the intake pipes to make it easier to get to. The skimmer is so big it just takes up too much room.

I may have to evaluate the dimensions of each are once I get my Carbon Reactor here shortly.

These other photos are just me putting in the sand. I put the water in first and I know some like to put the water in second but whatever. It works both ways I guess.
 

Attachments

  • Sand-3.webp
    Sand-3.webp
    33 KB · Views: 519
  • Sand-2.webp
    Sand-2.webp
    27.3 KB · Views: 516
  • Sand 1.webp
    Sand 1.webp
    17.9 KB · Views: 566
  • Final-Plumbing-2.webp
    Final-Plumbing-2.webp
    29.7 KB · Views: 523
  • Final-Plumbing-1.webp
    Final-Plumbing-1.webp
    24.9 KB · Views: 545
Here are some more of the same and photos of the sand before it settled.

It took about 2-3 days until it cleared up.

The sand as you can see from the other pix is CaribSea Fiji Pink. I know it doesn't meet the standard of many to be considered pink but it has some fleck to it I suppose.

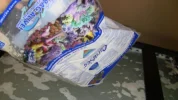
I also used those little packets that are supposed to help it clear up but I can't say they helped much.

I will say this though. Wether you plan to run sump socks or not get some and run the tank with them and it will speed up the time it takes for the water to clear up.(In my opinion)

I like an idiot and tell anyone do not do this, ran the system with no sump socks and now my sump till this day has a thin coat of sand at the bottom of the skimmer and fuge sections. No biggy as I will be making a whole new sump but if not this would be annoying forever.

Maybe it would help keep crap from growing on the bottom but just don't do it.
 

Attachments

  • Sand-Complete-2.webp
    Sand-Complete-2.webp
    19 KB · Views: 1,874
  • Sand-Complete.webp
    Sand-Complete.webp
    18.4 KB · Views: 475
  • Sand-6.webp
    Sand-6.webp
    16.6 KB · Views: 427
  • Sand-5.webp
    Sand-5.webp
    13 KB · Views: 481
  • Sand-4.webp
    Sand-4.webp
    27.5 KB · Views: 488
Just a few more of the same zzzz. .... zzzzz. ....z zzzzzz
 

Attachments

  • Sand-Complete-3.webp
    Sand-Complete-3.webp
    12.3 KB · Views: 1,084
  • Sand-Complete-4.webp
    Sand-Complete-4.webp
    9 KB · Views: 466
  • Sand-Complete-5.webp
    Sand-Complete-5.webp
    13 KB · Views: 565
Back
Top