Greasy Joe's 55gal scrubber tank

Greasy Joe Bick

Reefing newb
Hey guys,

I figured it would be easier for me to document my progress and ask questions in my own tank showcase thread. So here goes. This is my first adventure into any fish keeping of any kind. I got this tank from a friend. Not knowing the age of the tank, nor the original owner, I tore off all the old silicone to prevent problems with seepage later down the road. I also wanted some reassurance that it would hold. I used Ge 100% silicone #1 to reseal it.

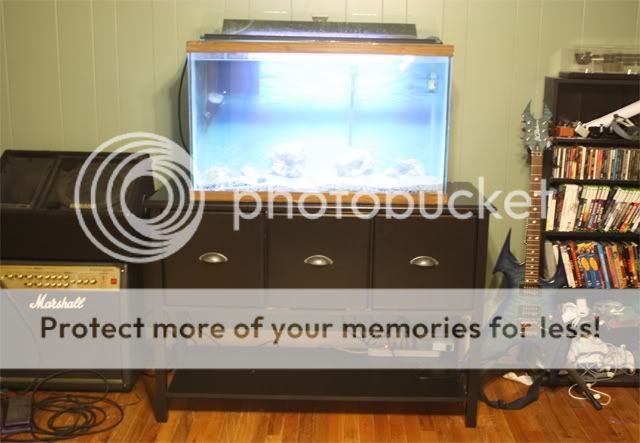
After waiting 48 hours for silicone curing, I went out to the LFS and purchased an eshopss overflow box to start the plumbing for my scrubber. After getting all my plumbing straight, I built my sump tank. I used a 5.5 Gallon Aquaeon aquarium that measures 16"L x 8"W x 10"H. It was the perfect fit under my old tv cabinet. I siliconed three acrylic partitions to the aquarium to create an over-under-over to prevent micro bubbles. Once i got my sump in and got everything flowing this was the end result.
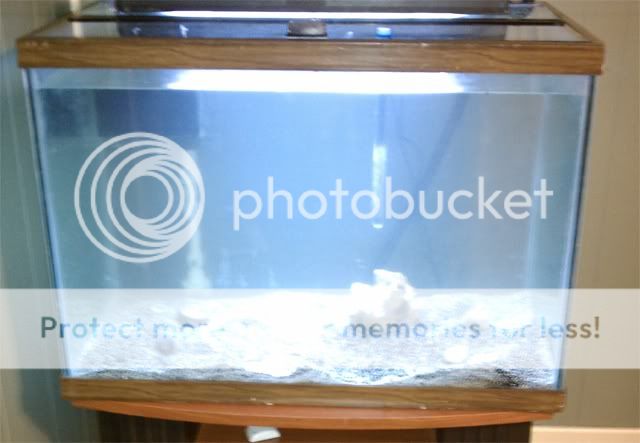
first_front.jpg


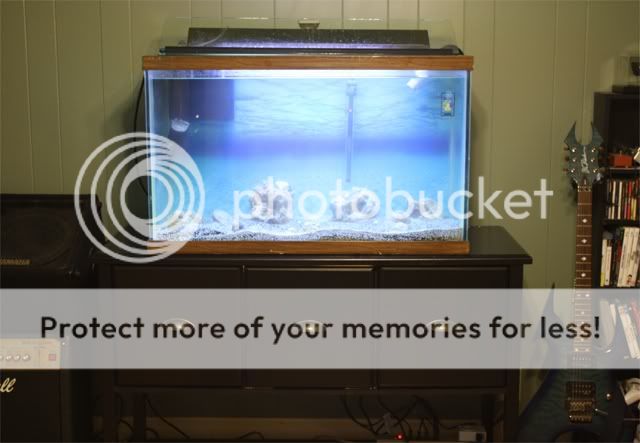
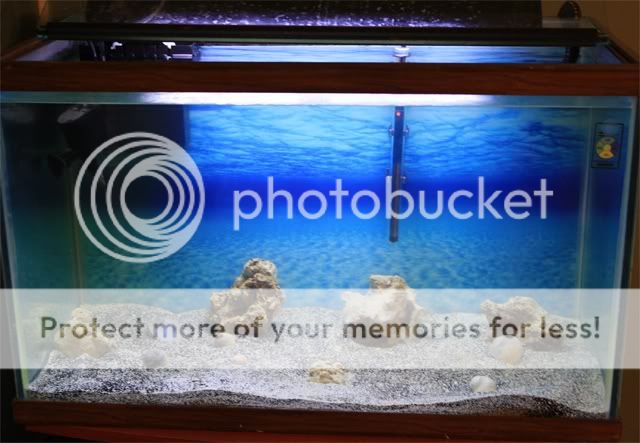
Two days later I went to get some live rock, mysis shrimp, and the ole lady wanted to try out a background for the tank. That leads up to today. I let a cube of mysis loose in the tank to help to kick start my cycle. I placed my live rock into the tank, trying to keep them in a pattern that would allow water flow over my small piece of dead rock. A friend had some old hermit crab shells from a trip a couple of years ago. I added them to the tank. We also added the, store bought, Sea View, background. Here's what the tank looks like now. With better, non-cell phone, pictures.
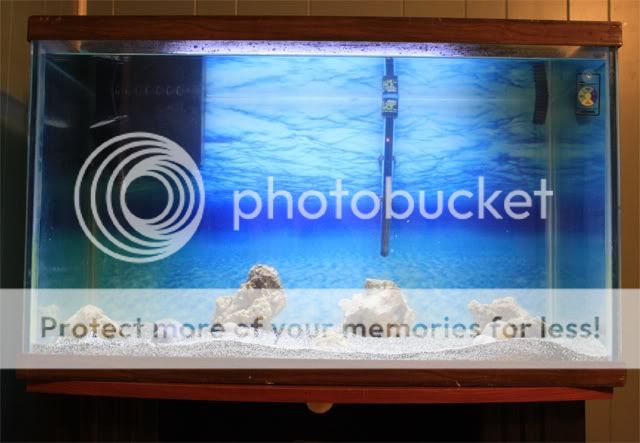
font_backgrond_live.jpg


Front_live_back_angle.jpg


I bought the cheap Ammonia Alert meter to possibly detect when my cycle occurs. I have a API saltwater and a API reef master kit to test my true levels. The alert strip was just for quick reference. We are not 100% sure if we will keep the background or not. I ordered 25 lbs of rock from Marcorocks.com and a 4x39w t5 HO fixture. We'll see how it looks once we add the new lights and new rock. Can't wait for my first cycle. I'll update when needed.:Cheers:
 
Last edited:
Hello 5.5 gallons will you have enough overflow room when the pump loses power?It will drain water from the tank till it reaches the bottom of the surface skimmer box and pump return.Did you drill a hole in the pump return to break the siphon if the pump loses power
Sounds like you are asking for a flood.Also most silicone takes anywhere from 3 days to 10 days to fully cure.I always wait ten days just to be on the safe side because silicone can't cure under water curing is an out gassing process and requires air.Looking good but you really need to take time and have patients.Also you are asking for trouble not having the corners of the tank evenly supported.You need to realize how much a stocked aquarium weighs.A simple ten gallon tank can weigh over a 120 LBS
happy tanks to ya
 
Last edited:
Hello!

Looks like you are off to a good start, but my googling research says that you really only need up to 48 hours for silicon to cure.

But i do agree that the corners not being properly supported is a bad idea.

Also, youre kinda low on the lighting scale. I would keep that in mind when you are buying your corals.
 
Hello! I agree, you will need to upgrade lights in order to keep corals.

Figure on 12 lbs of weight per gallon when setting a tank up. They are heavy, and you have to be confident in the strength of your stand. A bookshelf or nightstand won't do.
 
Howdy! The others have ya covered so I'm just poppin by to say hi. Hang in there, take your time, and this hobby will be very enjoyable but if you cut corners or have to learn the hard way (like I did) then you are in for some frustrating times. :-)
 
Hey guys,

I followed your advice, went out to the LPS, and bought a 55-75 gallon aquarium stand. It's rated to hold 800lbs on top and it fits my tank. No more over hang from the corners. I'll update the pictures when I get back from work.

After I was done assembling the new aquarium stand, I bought a 55gallon trash can from a hardware store, cleaned it with water and cloth, and pumped my tank water in it. I also threw an air stone in the garbage can with my water and live rock. In the middle cabinet, I drilled 2 hole-saw holes, in the back wood panel, for overflow and return. Also, I sealed every crack in the cabinet and the newly, drilled holes with silicone. I wanted to make sure water and salt creep didn't start seeping in the cracks. I already had a check valve in my return hose but i also added a bigger PVC piece on the end to make sure my hose can't slip though my plastic cover.

I'll update, with pictures, later in the afternoon. The tank is back to flowing and cycling. I have to admit, It feels really good having it on a stand that is rated to hold more than enough weight.

Pictures on the way! :Cheers:
 
Updated Pics!

Here's a full shot:

tankandstand.jpg


Closer Shot:

tankstandclose.jpg


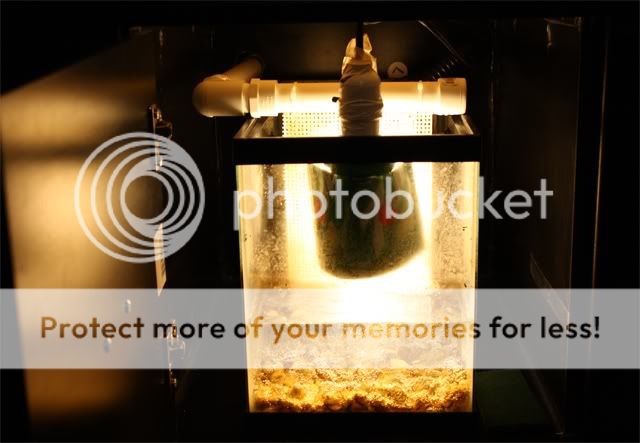
Sump and scrubber setup:

scrubbersump.jpg


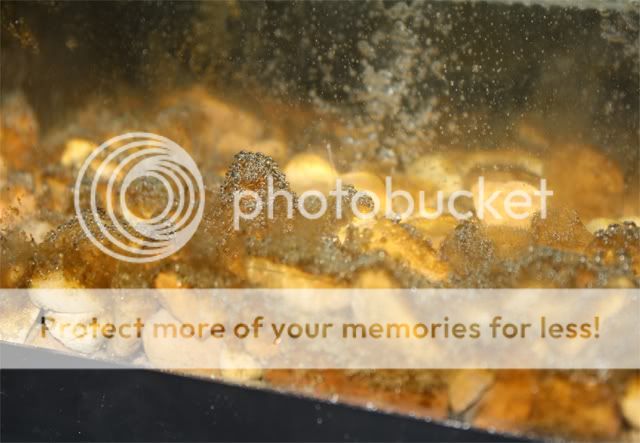
I had a ton of alage appear in my sump today. Is this Diatoms?

Light Off:

sumpalage.jpg


Light On:

sumpalagecloseup.jpg


I'll be posting updated pics really soon. My lights are a week away but my 25lb order from Marcorocks comes in tomorrow. I may aquascape with nylon screws, rubble, acrylic, and mortar if possible.

:Cheers:
 
OK, maybe I freaked a little , maybe not.

I started comparing troublesome algae pictures on line and the closest match I could find was dinos or calothrix cyano. It didn't look like it at first, but after a while, the bubbles in the corners were staying stuck to the rock, stringing up algae like snot.

The two options I seen for treatment were boil the piss out of the affected rock for dino or scrub rock with toothbrush and let cleaners get rest, for calothrix cyano.

I figured I'd kill 2 birds with one stone and threw out the affected rocks, cleaned my sump tank, and put in new, clean, sterilized rocks. I hope i was right in doing this. I looked up many saltwater algae pictures and the ones that bubble like that seem to be bad. Just bad on different levels.

Was this a good call by me or did I jump the gun?
 
I think you just jumped the gun a little bit.

Plus those rocks just looks like regular pebbles that you would find outside on the ground, if so, they were probably loaded with nutrients for algae to grow off of.
 
I think it looks like dinos too. Since you don't have much in your tank yet, I don't think it was jumping the gun. Easier to take care of it now, rather than down the road when you have a ton of livestock.
 
Thanks Biff and Little fish, i was worried about that stuff and just got rid of it. Sump looks fine as of today.

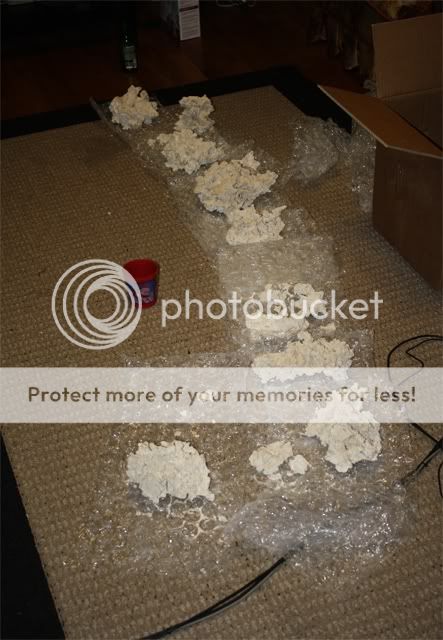
I finished aquascaping my new rocks. Look ok?

I started with:

rocksunpacked.jpg


End Result:

newaquascape.jpg
 
Loosk great! If you have room for it, You should consider putting your heater in your sump. Its one less thing to look at in your display ;)

I like the salt and pepper look of your sand, I had the same in a 30g cichlid tank with red lava rock and loved it.

Keep up the good work and listen to the advice these folks here at livingreefs offer. Its been a tremendous help to me so far. Keep us posted! :D
 
Nice, but would you let a forum user make a wallpaper background for you and you print it out and put it in your background of the tank? I loved one of those images you took first and wanted to make it a wallpaper for computers. Here is the small one:

http://i51.tinypic.com/2v35wdt.png

Now you just need to let someone design a cool wallpaper background for your real tank, like me :-)
 
Usually just the print button on your computer. Open the wallpaper in any paint program and print it. Or take it to a place.
 
Ha, Oh thats what you mean. Well figure out what size your tank is, design something in photoshop that size, take the file to a printshop and have them print it on paper that will look good placed on the back of your tank. I have no clue what the best paper would be. Guess it depends, someone else might be able to better answer it. But yeah, im sure if you have a huge tank, you dont own a printer that can print the right size. You could always split it up though into multiple pages of prints
 
Back
Top